Quick Start
Download
Normally, Pàdé is installed from a web browser vendor App Store like Google Chrome.However, it is possible that corporate compliance and network policies can prevent direct access to the web vendor app store. When this happens, the web extension file can be downloaded from GitHub and installed manually.
Download PàdéInstallation
Step One
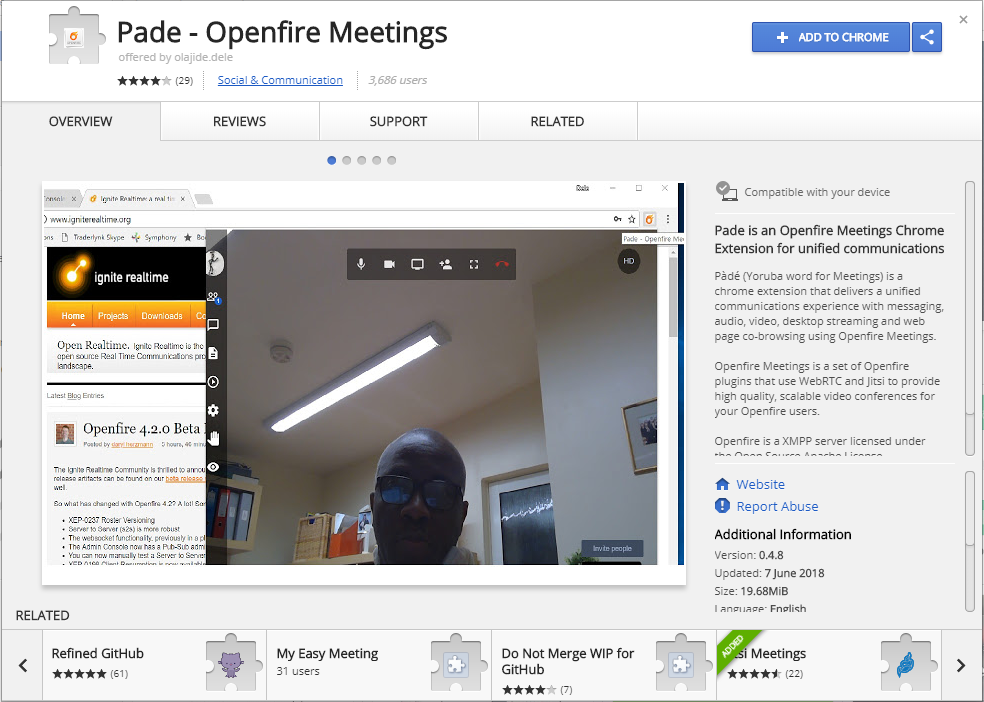
Go to your web vendor's extensions app store and search for Pàdé. Currently, Pàdé is only available from Google Chrome app store. Install from here
Step Two
Click on the blue Add to Chrome button
Configure
Connection Details
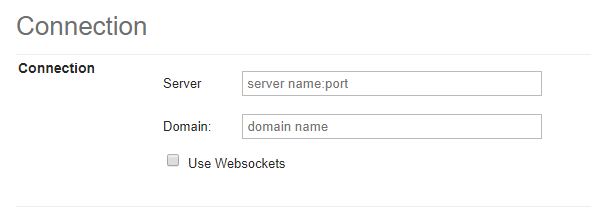
First enter the connection details for your Openfire server as provided by your system administrator. The server is the FQDN of the server with an optional http port number. For example, myserver:7443.
Login Details
Next enter the login details for your user account as provisioned by the system administrator. Click on the login button to login.
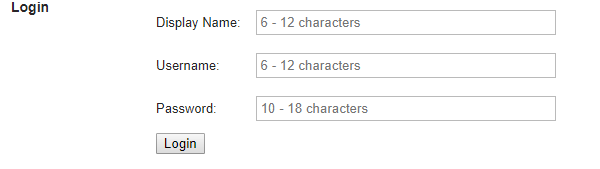
If your connection and login details have been entered correctly and your account has also been setup correctly, then the off badge on the application should disappear indicating that you have successfully logged in.
Joining a Meeting
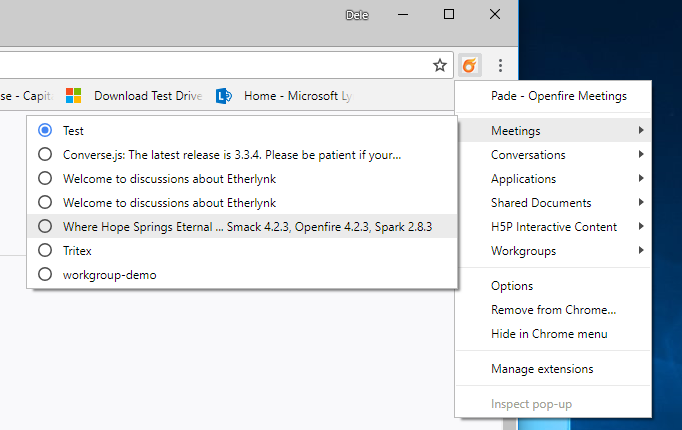
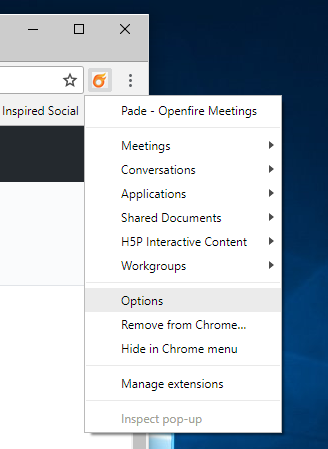
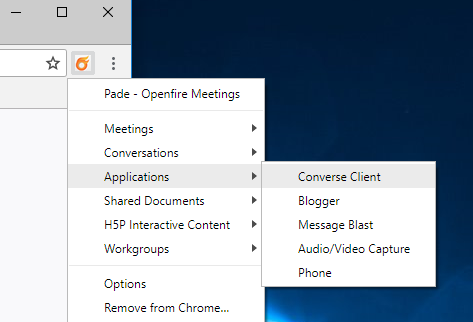
To join a meeting, right click on the application icon. Click on Meetings and then select the meeting room required. The Meeting application window should open.
If the name of the room required is missing from the list then contact your system administrator.
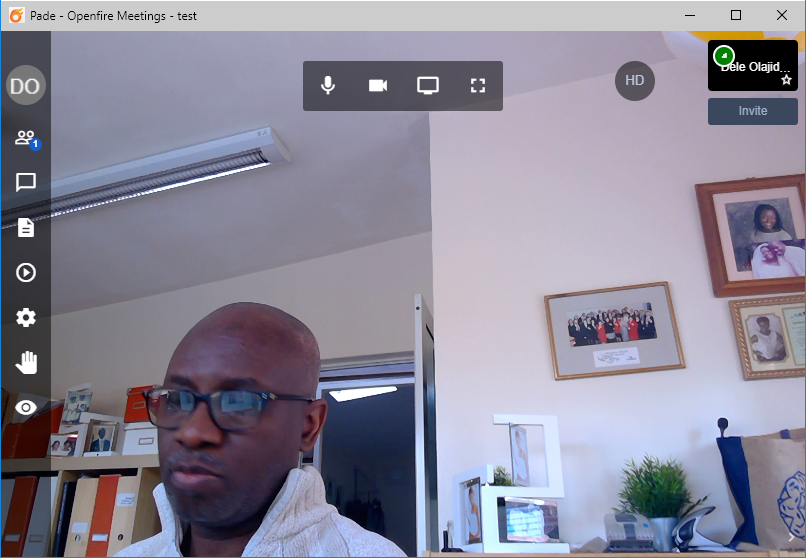
This is now your active meeting. To join the meeting again, just click on the application icon directly.
See Features for more details on how to use the meeting application.
Having a Conversation
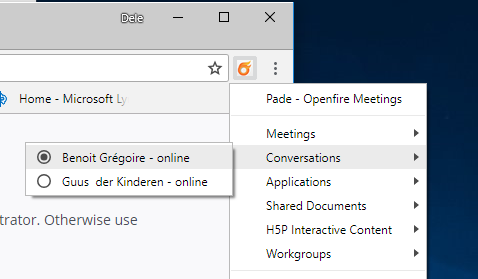
To initiate a conversation with a colleague, right click on the application icon. Click on Conversations and then select the person required. The Meeting application window should open just as it did with joining a meeting.
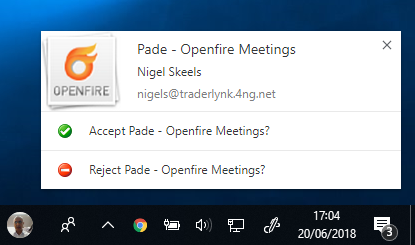
The person you are calling will receive a notification from you inviting them to join a conversation with you.
If the name of the person required is a team member and is missing from the list then contact your system administrator. Otherwise use the Chat application to add the person to your contact list. See the contacts section in features for more details.
Joining a Group Chat
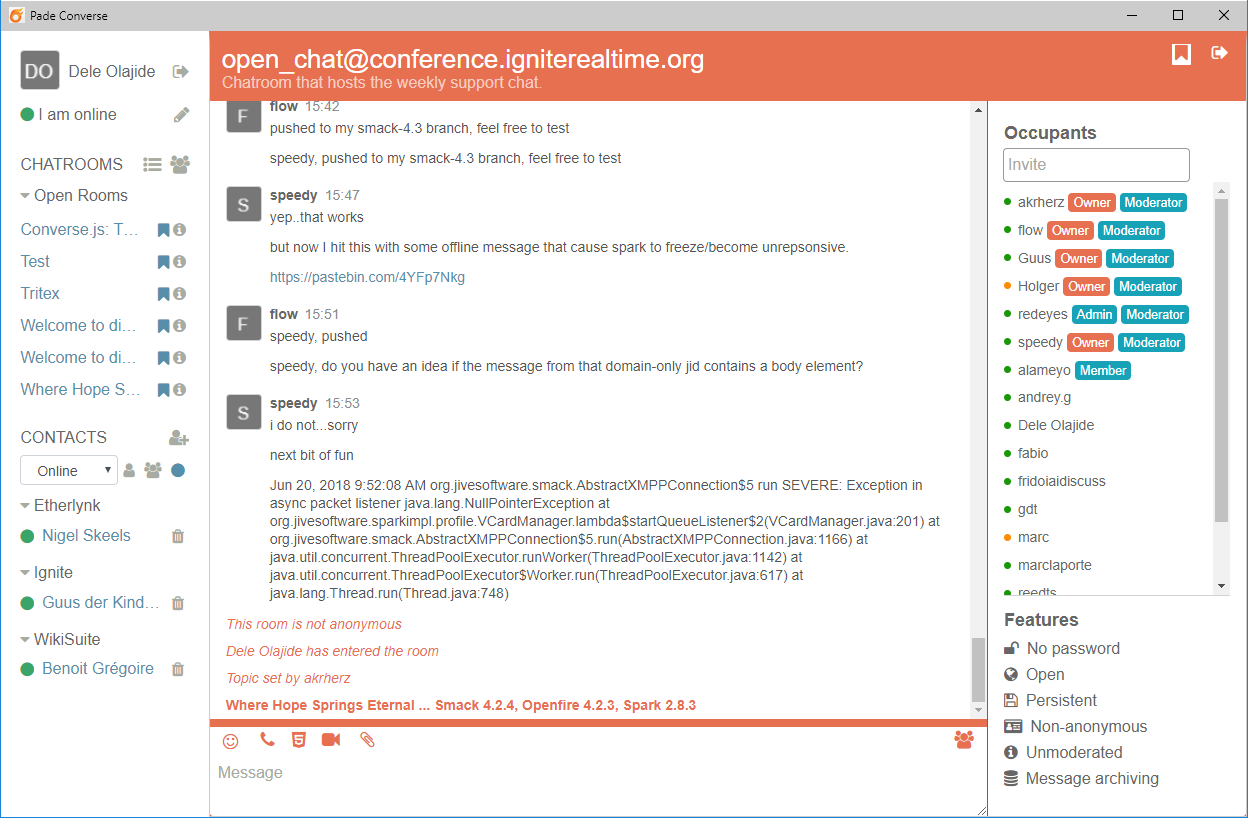
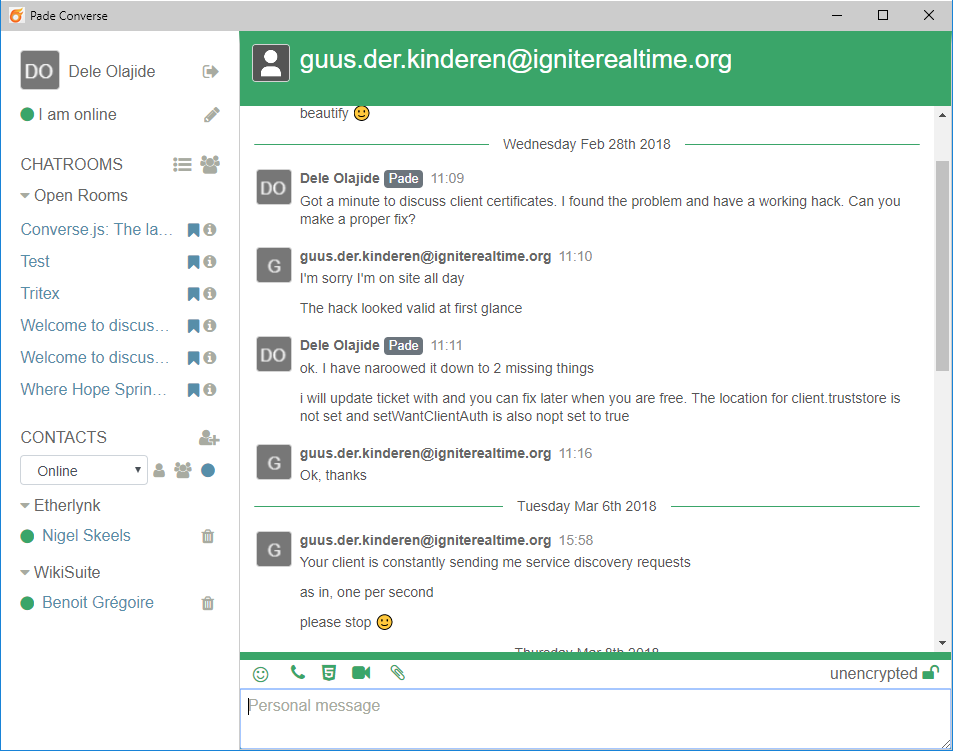
Having a Chat
Joining a SIP Video Conference
If your chat or groupchat escalates into a video-conference, first make sure that your SIP phone is configured by your system administrator and enabled as shown above.
Next, click on the telephone icon in the chat or groupchat conversation toolbar to join.

This will open the SIP VideoConference application window. Click on the green telephone icon whenever you are ready to join.
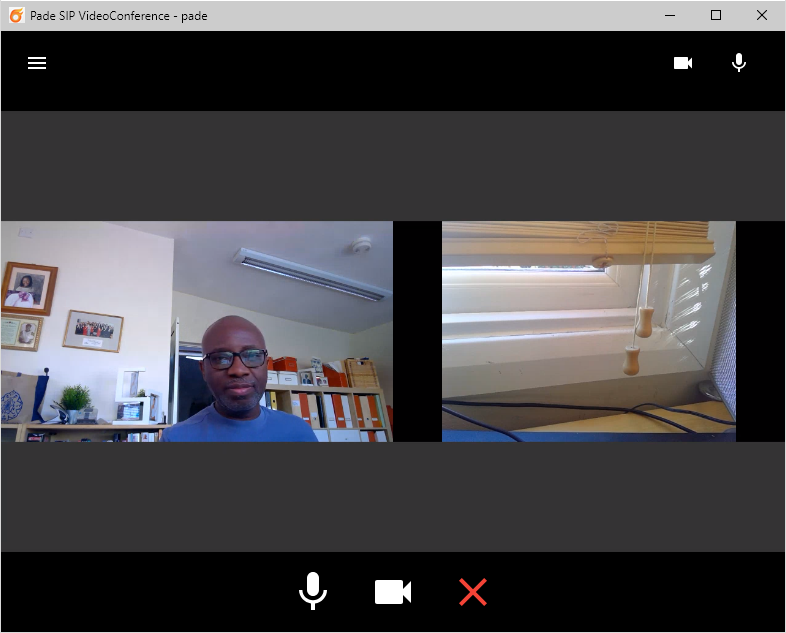
Click on microphone or videocam icons to toggle muting your voice and webcam respectively. Click on the red cross to leave the conference.